
If you are anything like I was after getting your first job as a practitioner, then you have probably never heard of a National Provider Identifier (NPI) until recently. Some of you may be lucky enough that your employer will assist you in the application process; but for those of you who aren’t, this guide will give you a quick rundown on what an NPI is and how to apply for one.
What is an NPI?
An NPI is a 10-digit number used to identify HIPAA-covered entities or health care providers for the purpose of conducting electronic transactions.
Some examples of transactions that require use of an NPI include claims and encounter information, claims status, payment, referrals, and authorizations.
Who needs an NPI?
Basically, any provider or organization who plans on submitting electronic information for reimbursement must apply for an NPI.
Examples of providers include: physicians, physician assistants, nurse practitioners, pharmacists, dentists, and chiropractors.
Examples of organizations include: hospitals, laboratories, nursing homes, pharmacies, group practices, and clinics.
These examples are not all inclusive.
How long does it take to get an NPI number?
If everything is submitted properly, your NPI should be emailed to you within 10 days. In my experience, I received my NPI almost immediately after submitting the application.
Applying for your NPI
Step 1: Go to the CMS: Identify & Access Management System website which you can find at https://nppes.cms.hhs.gov/IAWeb/login.do.
Step 2: Create an account to gain access to NPPES, Pecos, and EHR systems.
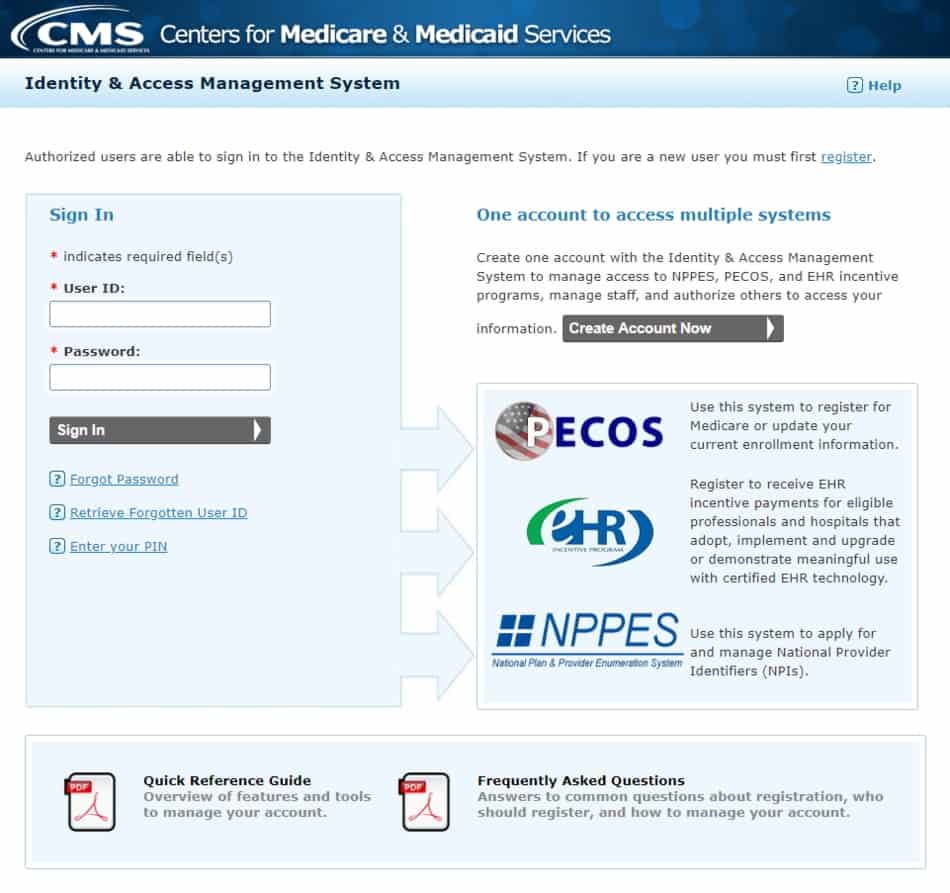 Select Create Account Now.
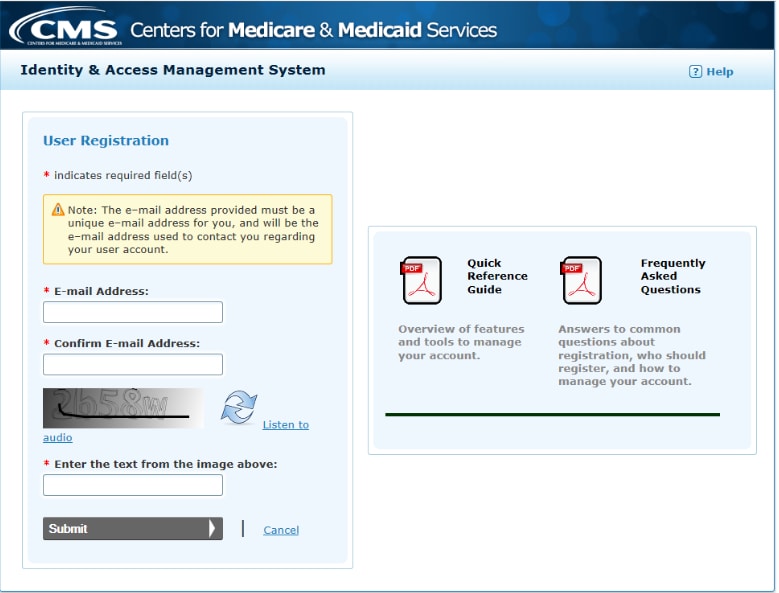
Enter your email address. I suggest a personal email that you use regularly.
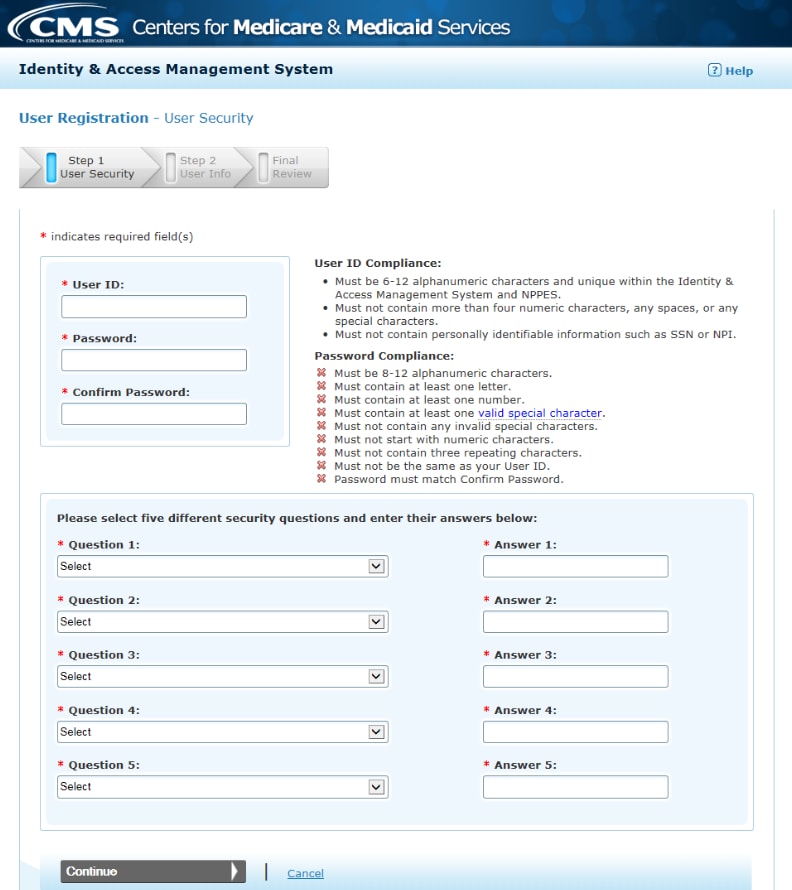
Select a user ID and password. Then create your security questions.
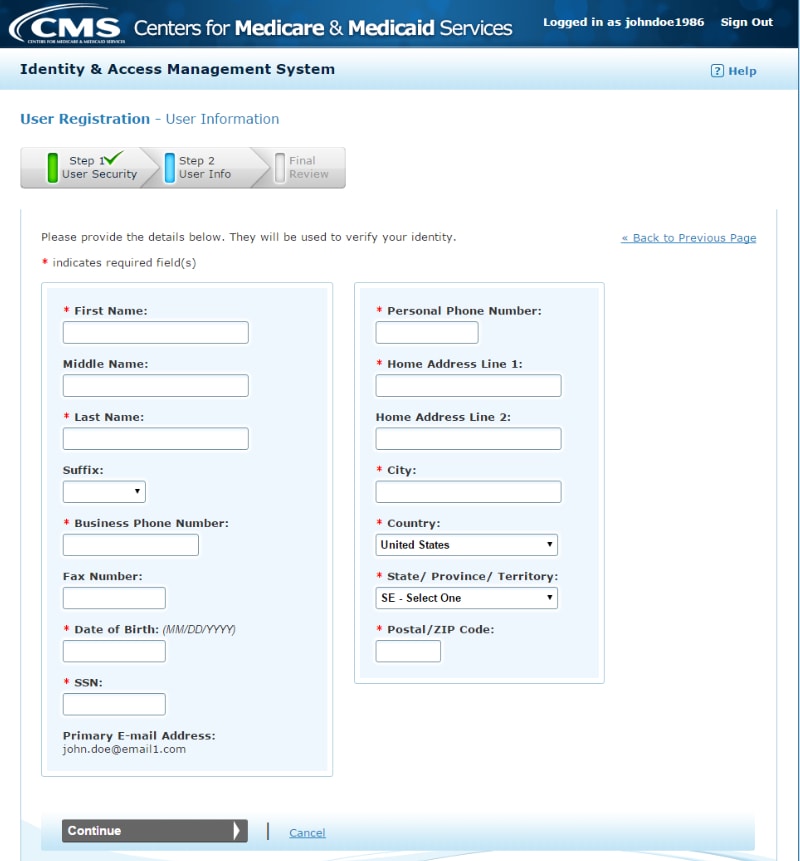
Fill out the required information. If you do not have a place of employment, you can likely use your personal number as your business number. Information can be updated if and when things change.
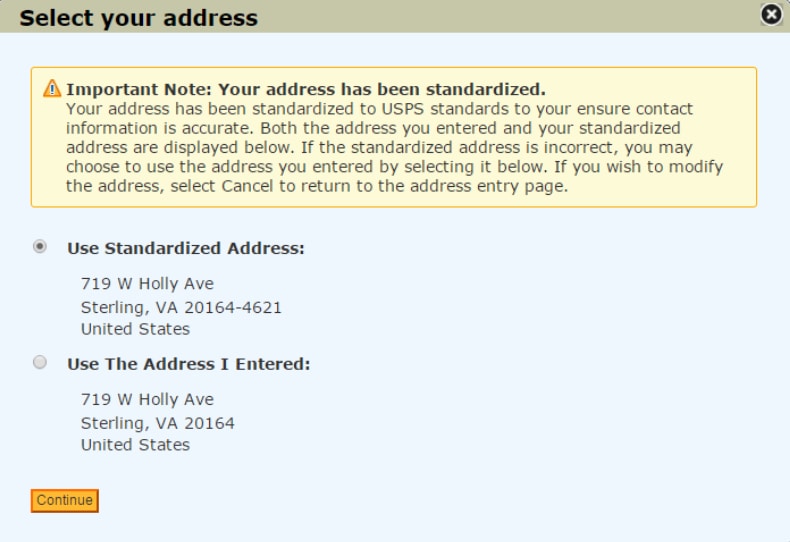
Select the standardized address if prompted.
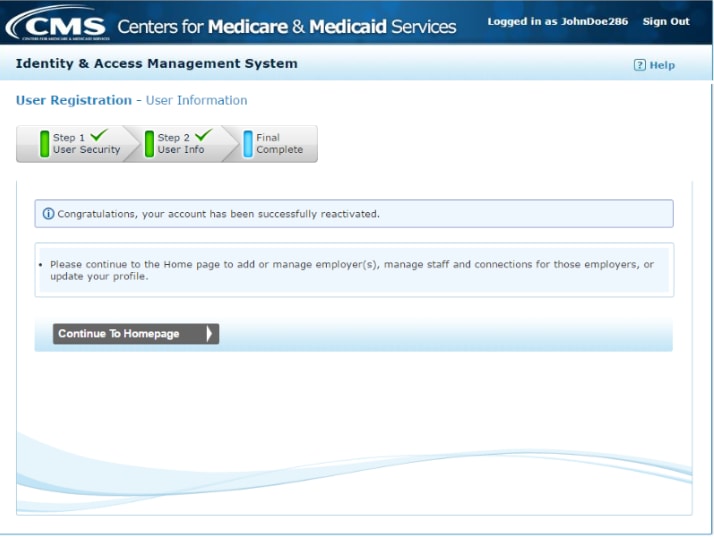
Now your CMS: Identity & Access Management System account is set up. Select continue to homepage.
Step 3: Use your CMS name and password to apply for your NPI through the NPPES system.

Select register for an NPI or go to the NPPES website by clicking here. If prompted to log in, use the same User ID and Password you created in Step 2.
Step 4: Complete the NPI application process
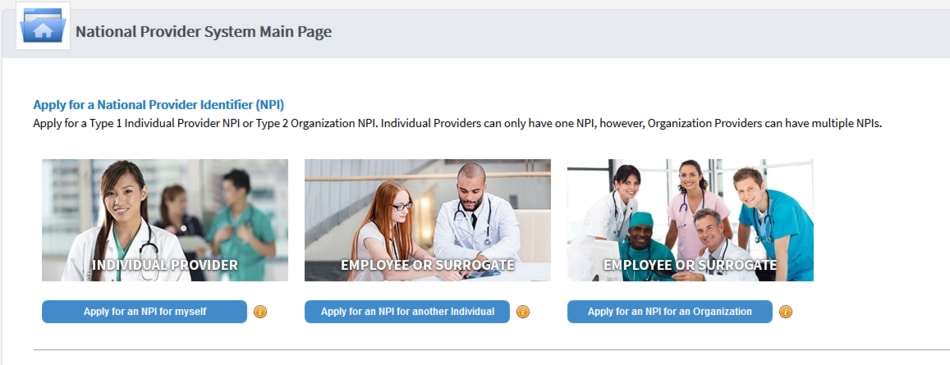
Select Apply for an NPI for myself. Complete the items 1-7 starting with Profile.
Profile
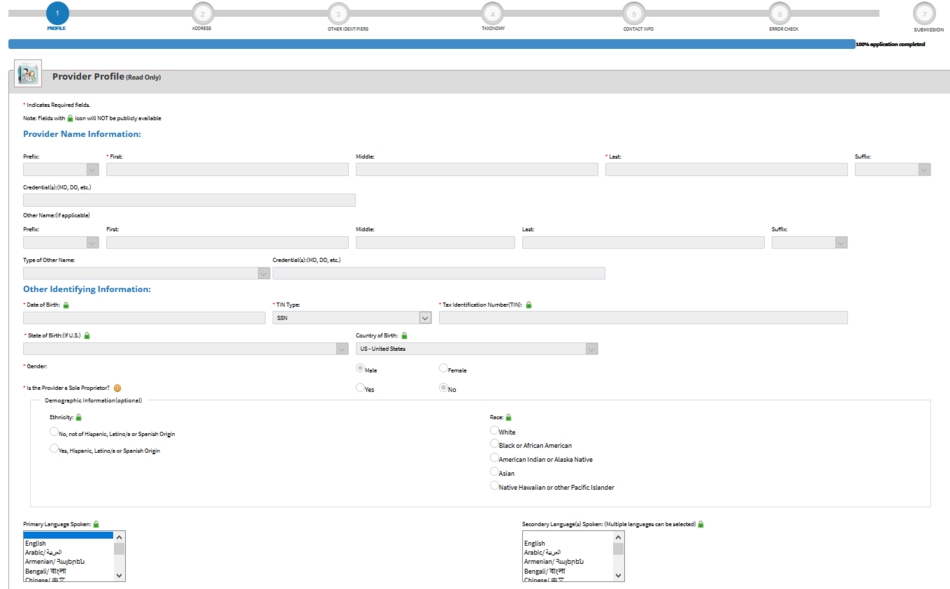
Credentials are optional. Use your social security number for the Tax identification number. Just make sure you select SSN from the TIN Type menu.
Address – A business address and a practice location are required. For many, it will be the same location.
Other Identifiers – This is optional and most likely will not apply to you; however, if you want more information, you can find it here.
Taxonomy

Select your taxonomy code from the scroll bar. If you are a nurse practitioner, scroll down until you find the nurse practitioner codes. Otherwise choose the code that corresponds with your profession. More information on Health Care Provider Taxonomy Code Sets can be found here.
Do not get too hung up on the specialization. For example, I am certified as an adult gerontological acute care nurse practitioner and I work in critical care. I selected the taxonomy code 363LA2100X for Nurse practitioner – Acute Care even though there are codes for Adult Health, Critical Care, and Gerontology.
Contact Info – Complete your contact information.
Error Check – Check for errors and fix any that may be listed.
Submission – Submit your application.
Step 5: Wait for your NPI to be emailed. Again, I received mine almost immediately after submitting the application but don’t be alarmed if it takes longer as the estimated time is 10 days.
Now for those of you that still like more traditional methods, you can obtain a printable NPI application here. It will need to be filled out and mailed to the address within the form which will take much longer.